Top 10 Real Estate Photography Tips: Equipment and Common Mistakes to Avoid
- Ann Gilbert

- May 30, 2023
- 2 min read

When it comes to selling properties, first impressions often make the difference. High-quality real estate photography can help your listings stand out in a saturated market. Whether you're a seasoned professional or an aspiring beginner, here are 10 tips and pieces of essential equipment for effective real estate photography, as well as common mistakes to avoid.
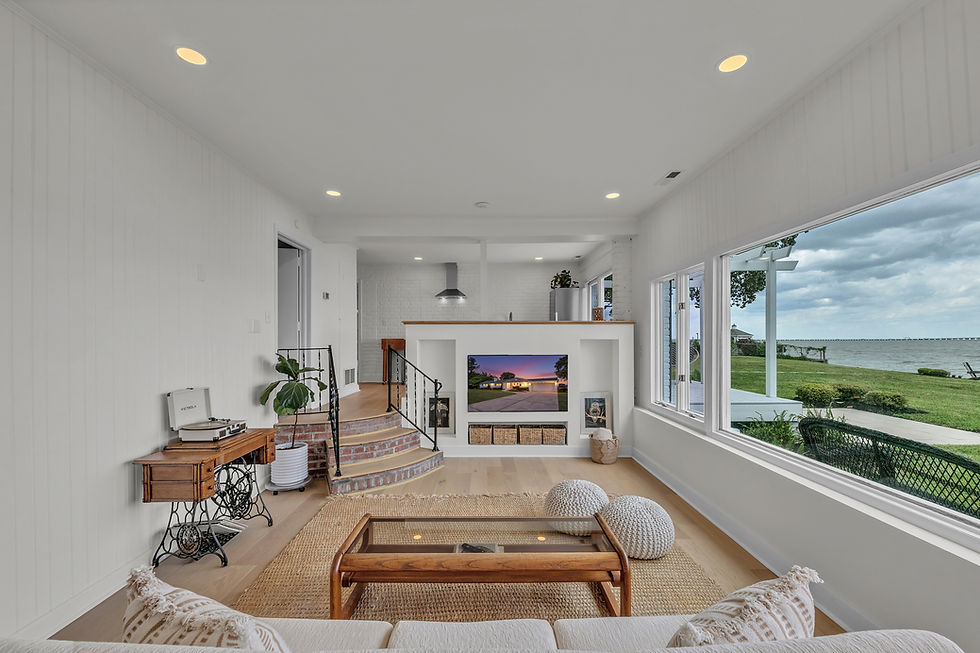
1. Use a Wide-Angle Lens
A wide-angle lens is a must-have for real estate photography. It can capture more of the interior or exterior, making spaces appear larger and more inviting. However, avoid going too wide to prevent distortions that might make the property seem unnatural.
2. Employ a Tripod
A tripod is crucial for stabilizing your camera, ensuring sharp and clear photos. This is especially important in low-light conditions where longer exposures are required, a common situation in interior photography.
3. Utilize Natural Light
Natural light can make your photos feel warm and welcoming. Try shooting during the day when sunlight is abundant. For interiors, opening curtains or blinds can let in more natural light and brighten up the space.
4. HDR and Exposure Bracketing
High Dynamic Range (HDR) and exposure bracketing can help balance light in your photos, especially in rooms with contrasting light levels. This technique involves taking multiple photos at different exposures and combining them to create a balanced image.
5. Master Post-Production Editing
Editing is where good photos become great. Learn to use editing software like Adobe Lightroom or Photoshop to adjust color balance, brightness, contrast, and remove unwanted elements.
6. Stage the Property
A well-staged property is more appealing. It helps potential buyers visualize themselves in the space. Remove clutter, ensure the property is clean and consider adding fresh flowers or fruit to add some life to the setting.
7. Show Off the Property’s Best Features
Identify the property's unique selling points and make sure to highlight them. It could be a luxurious bathroom, a cozy fireplace, or a stunning view from the balcony.
8. Shoot from the Right Perspective
Try to shoot from the corner of rooms to maximize space and avoid shooting too low or too high. A good rule of thumb is to position the camera at a height halfway between the floor and the ceiling.
9. Don’t Ignore the Exterior
The exterior of a property is just as important as the interior. Photograph the front and back of the property, garden, or pool. Shoot during the 'golden hour' – just after sunrise or before sunset for the most flattering light.
10. Create a Shot List
Before starting, create a shot list to ensure you capture every important angle and feature. This will make the shoot more efficient and ensure you don’t forget any critical shots.
Common Mistakes to Avoid
Too Much Clutter: A clean, tidy space photographs best. Make sure each room is neat and free of distracting clutter.
Ignoring Lighting: Poor lighting can make rooms look small and unwelcoming. Always make the best use of available light.
Skipping the Details: Each property has unique details. Paying attention to these will help your photos stand out.
Mastering real estate photography is a balance of having the right equipment, understanding basic photography principles, and avoiding common mistakes. With these tips, you'll be well on your way to creating stunning real estate photos that truly sell the property.


Comments